
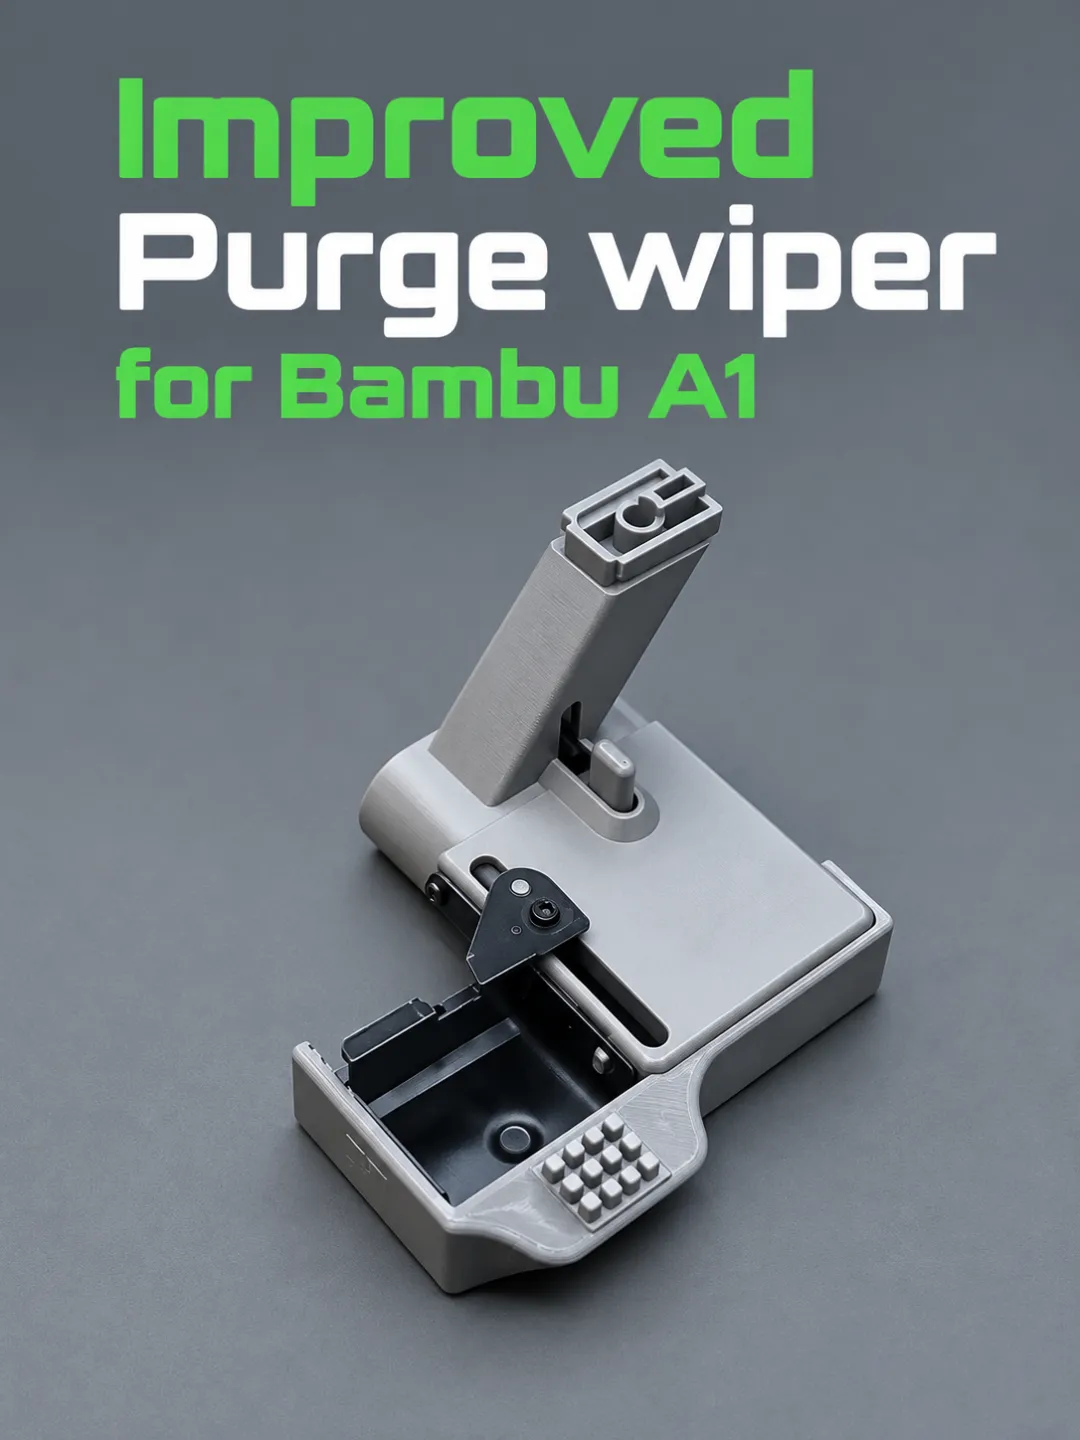
Model Overview & Print Notes
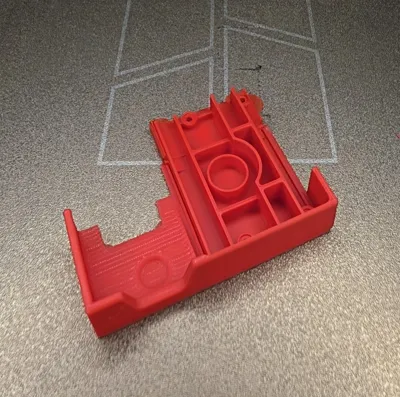
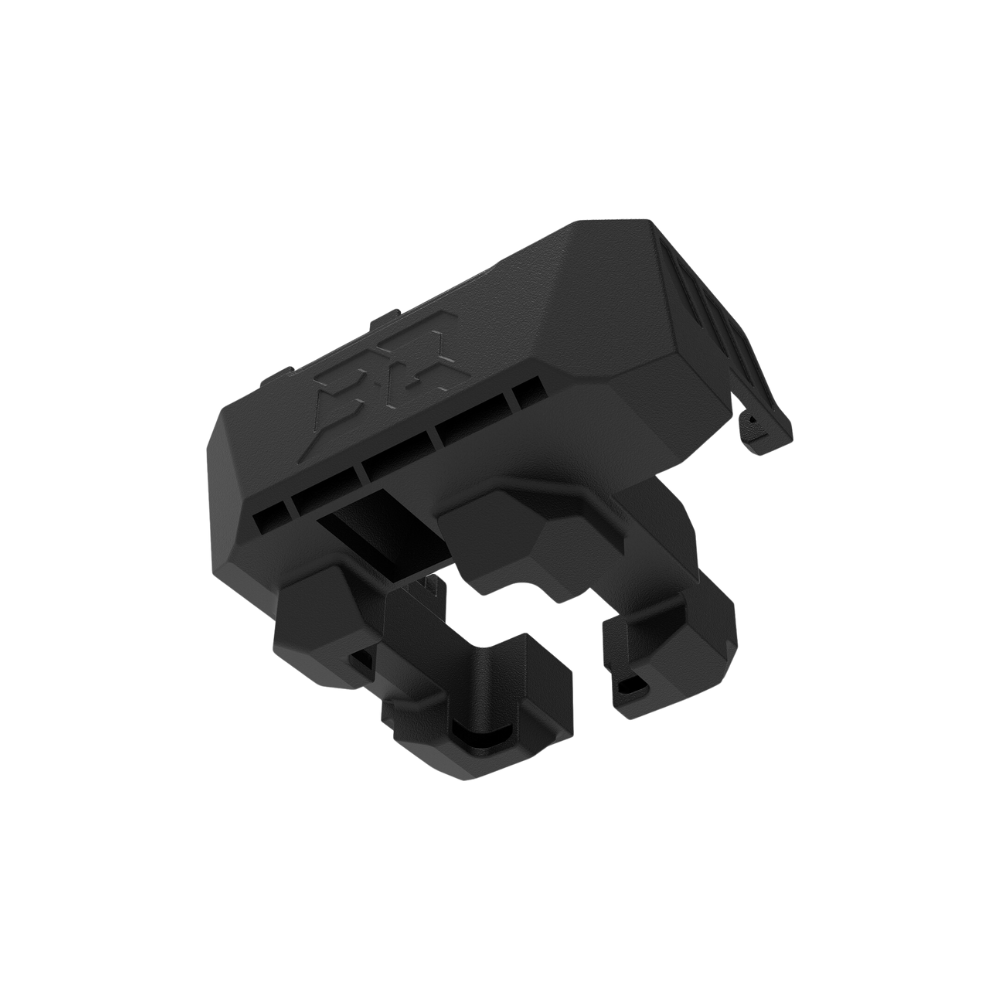
I got fed up with the original #%*&%@} purge wiper tray getting bumped, bent, misaligned or drooping so I created these, because buying a new part just means buying the same problem. These surround the tray and secure it into place so that it can't be bent, misaligned, and most importantly droop. Since it replaces the OEM bottom part and is screwed to the main OEM housing, it remains securely in place.
! THESE ARE NOT A CLIP ADD ON - THEY ARE A DIRECT REPLACEMENT PART ! Choose wisely! AKA REEEAAAD!!!!
This is a small parts print so 0.2 nozzle is best and be calibrated! (Temp, Flow Rate, PA, Retraction, Shrinkage, etc.) Or, you may have issue with the parts fitting correctly.
A1 Full Size Only Improved Purge Wiper w/ Silicon Wiper Section
This model adds a 3x4 section of silicon wiper. This version ONLY FITS THE A1. Install it on an A1 Mini and it will damage your printer! You have been warned!
A1 Mini and A1 No Silicon Wiper
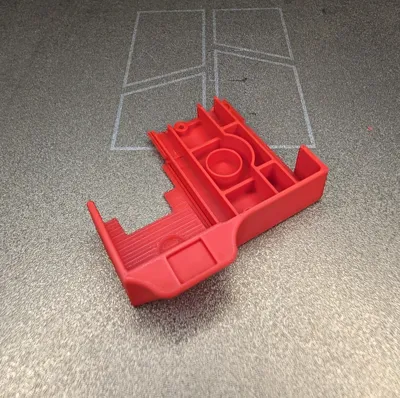
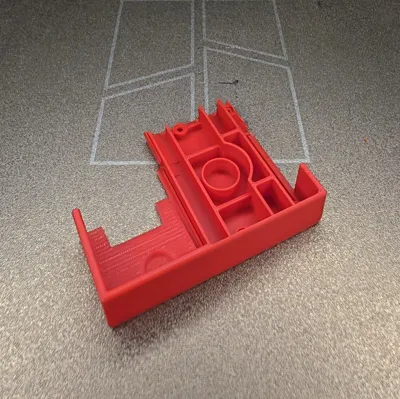
The second profile removes the wiper so that this will clear the heatbed of the A1 Mini. It can also be used with the full size A1 if you don’t want the additional silicon wiper section. Thanks to @3D_Trophy for their help developing this version!
A1 Mini and A1 Low Heat
This profile fits both the A1 and the Mini. It offers clearance to help avoid nozzle heat melting the part when using lower temperature materials like PLA's.
Installation~ All Models
- Remove the four screws from the underside of the wiper assembly.
- Remove the bottom part.
- Clip the improved wiper into place starting with the wiper tray.
- Screw together using original hardware. (Two screws that come with a hot end make a nice replacement for the two right side screws- on the end closest to the heat bed)
- Add 3x4 silicon segment. (skip for mini version :-)
- Enjoy not having to fix the wiper tray assembly anymore!
A1 and A1 Mini Purge Wiper Assembly Parts.
I have also included the models for the main wiper housing and a model of the OEM bottom plate. These provide:
- a quick fix with no shipping wait,
- the ability to color accessorize your printer.
- Template parts to build personal remix's from.
The main hosing is not a direct analog of the OEM part. I have added fillets and braces to help stiffen it. All of these are interchangeable. There are no detailed instructions for replacing parts within the main purge body housing. If you feel you need instructions - skip these models and purchase a replacement assembly from Bambu. For instructions on installing the completed wiper assembly to the printer, visit https://wiki.bambulab.com/en/a1-mini/purge-wiper-replacement
Other useful related models:
Wiper Arm Riser
X Axis End Cap
https://makerworld.com/en/models/1038882-a1-series-replacement-end-cap-for-x-axis#profileId-1023289
If you find this project useful, here are a few others you may like.



💬MakerWorld Community Comments(153)
★MakerWorld Original Reviews