
1/7
Model Overview & Print Notes
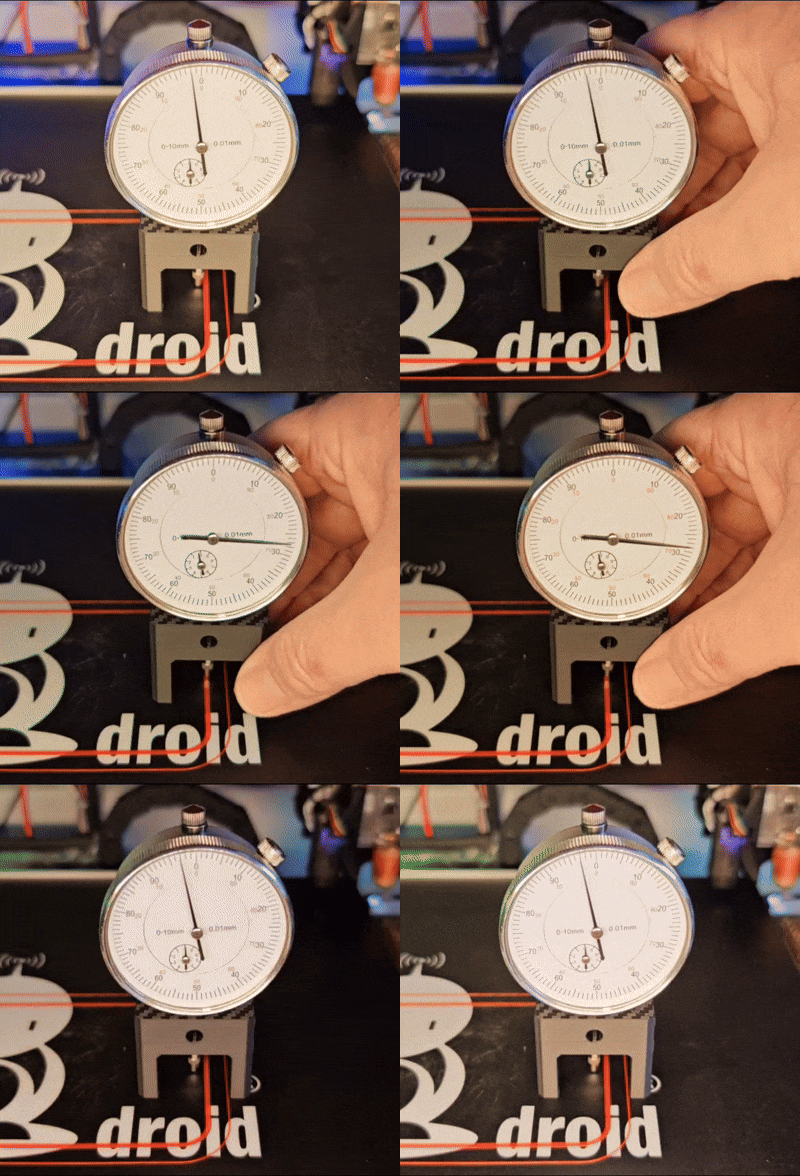
Anyone who's ever wanted to know how perfect their first layer is
now has the option of measuring it with a dial gauge.
This allows for more precise calibration of the layer thickness (Z Layer).
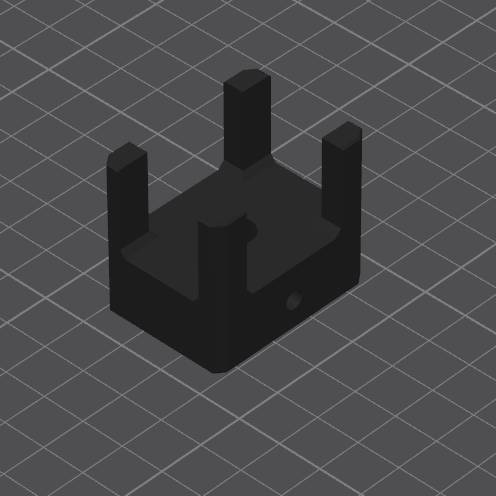
You will need a dial gauge and an M4 screw with a nut or a press-fit sleeve M5 to secure the gauge.
The gauge is then zeroed by adjusting its high position on a glass plate.
Measurements can now be taken, either directly on the print bed or with the first layer on a glass plate.
Anyone who has always wanted to know how perfect their first layer is now has the option to measure it with a dial gauge.
This allows for even more precise calibration of the layer thickness.
You will need a dial gauge and an M4 screw with a nut, or an M5 press-fit sleeve to secure the gauge.
The gauge is then zeroed by adjusting its height on a glass plate and secured with the screw.
Measurements can now be taken, either directly on the print bed or with the first layer on a glass plate.



💬CrealityCloud Community Comments(...)
★CrealityCloud Original Reviews