
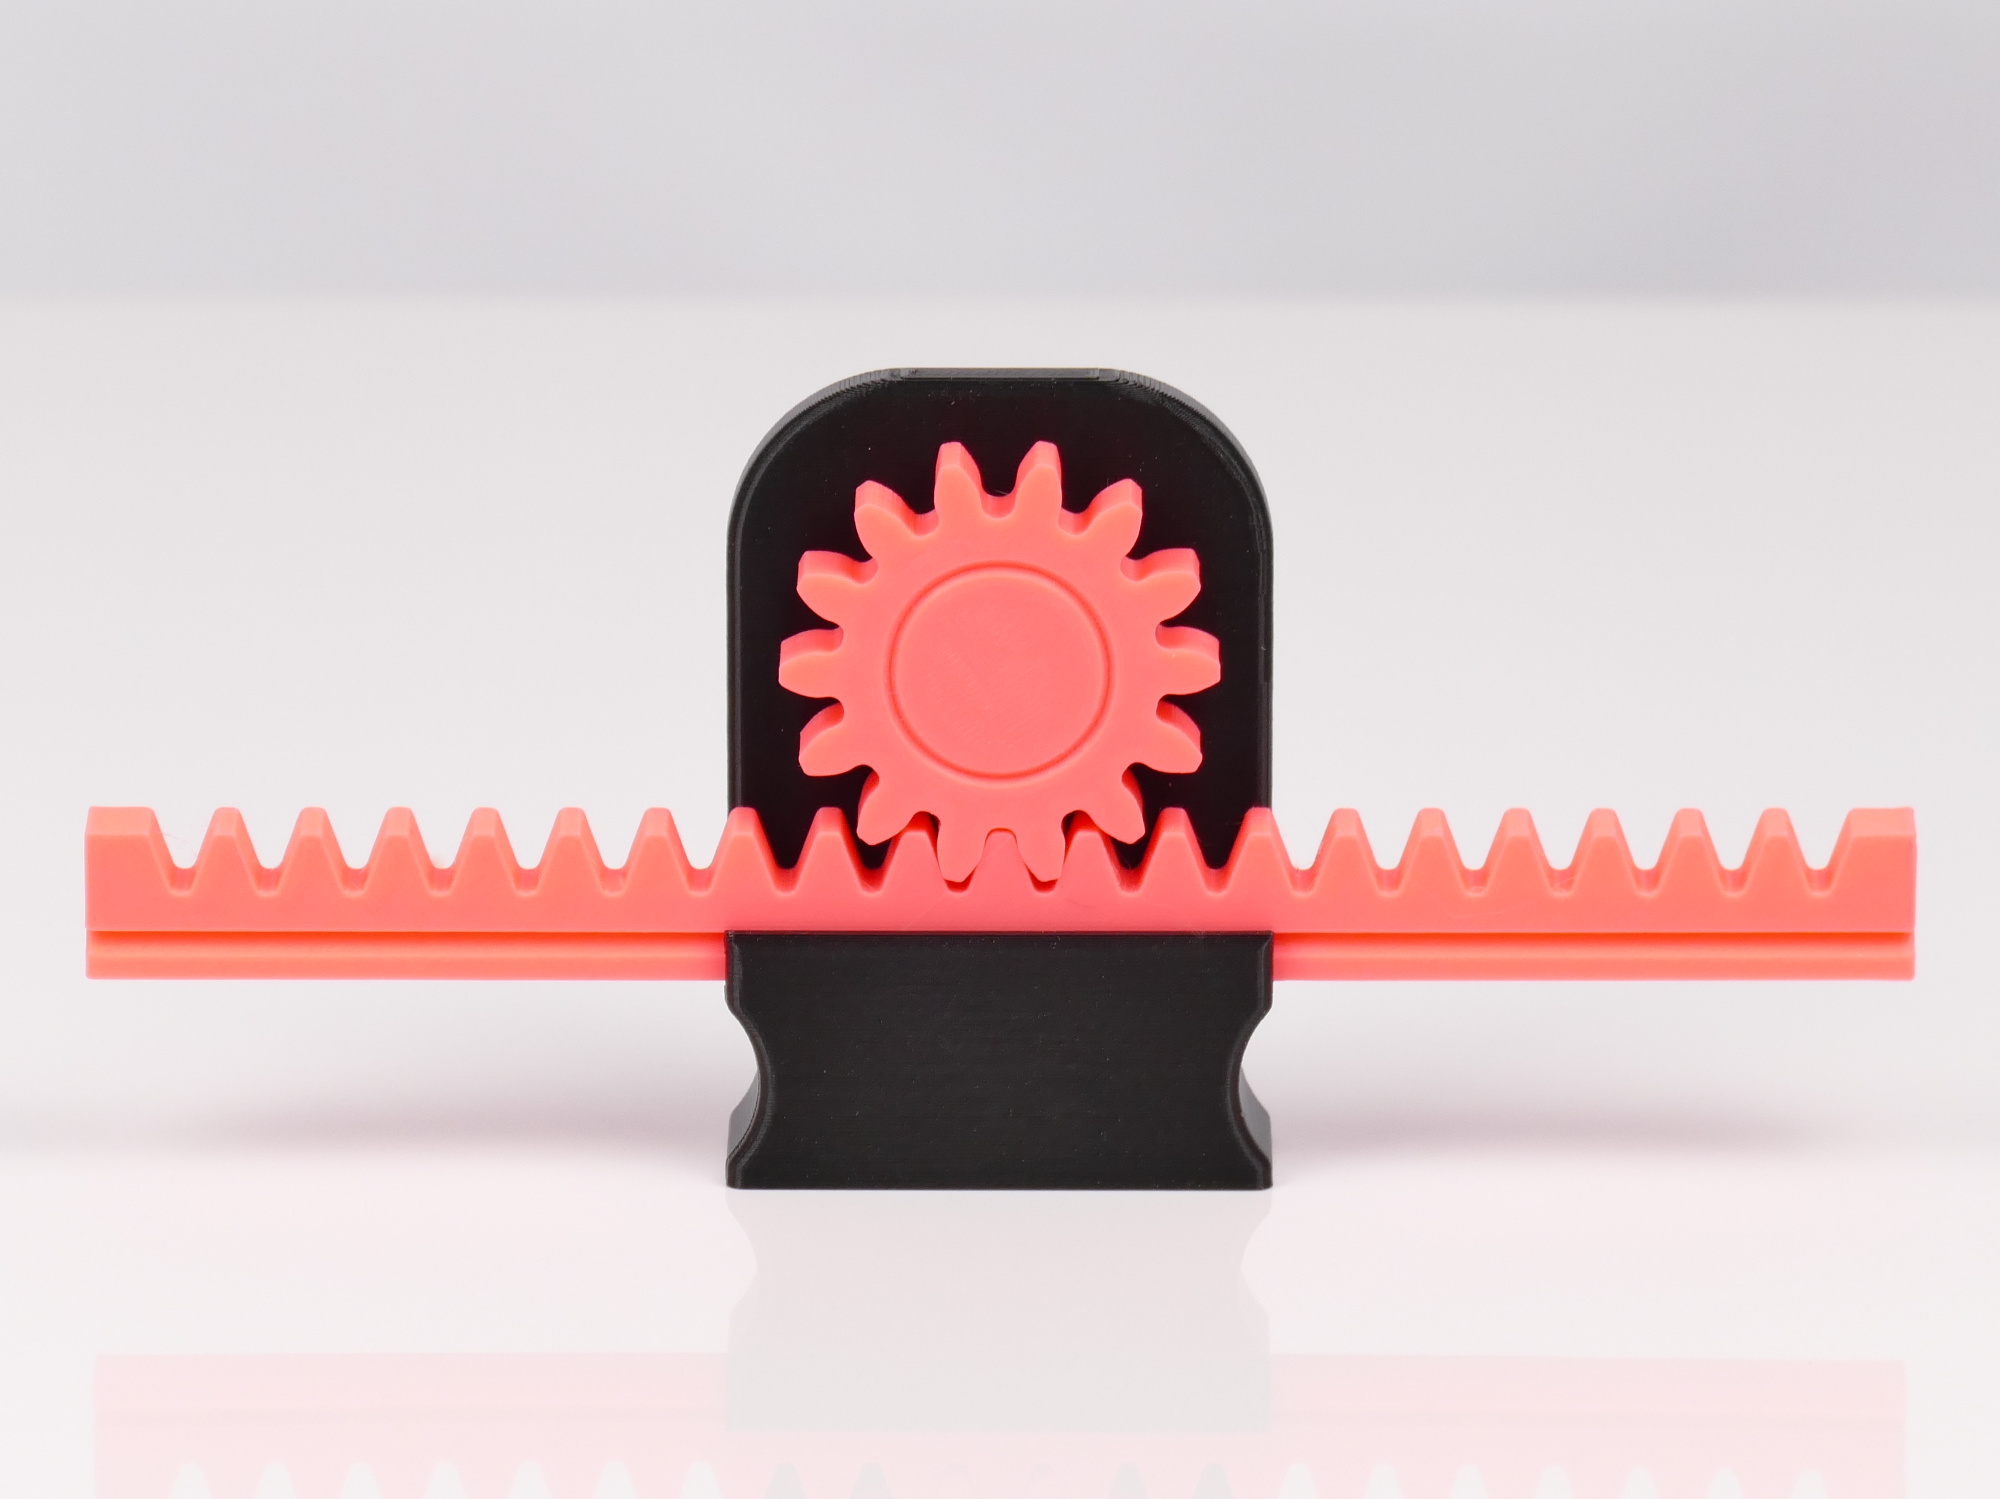

Rack and Pinion Gear - Educational Model

Download, slice and print this model in the MakerSpell app — available on Android and Windows. Get the app
Model Overview & Print Notes
Introduction: This is yet another educational model of a rack and pinion gear. My daughter had to give a presentation about this type of gear at school and we did not find a model that met all of our criteria: big enough (also the teeth) to present in front of a class* the actual meshing of the gear and the rack should be visible sturdy and reliable (to be passed around in class) easy to print no need for additional hardware for assembly * for scale: the rack is 20 cm long and the bracket is almost 90 mm high I happily accepted the challenge as I had some time to spend and always wanted to do something with gears. As I never designed anything with gears before, I followed a YouTube tutorial on how to design a rack and pinion in Fusion and after that built the rest of the model around it. Printing: I printed the model in PLA with 0.2 mm layer height. The rack and the pinion were printed on the side to have the teeth as perimeters of the print. The bracket was printed upright as I designed the slide with overhangs to be printed this way. Also the hole for the shaft is optimised for this orientation. The crank is printed on the flat side. Support is not needed for any part of this model. Assembly: Get the rack to smoothly slide in the bracket. Insert the pinion and check for smooth operation. Push the crank onto the shaft. Now everything should be fixed. For me, the crank is securely held on the shaft by friction. If necessary, carefully apply some glue. Clearances: For my printer, a 0.1 mm clearance for the linear slide and the shaft hole was fine. However, I also uploaded the bracket with 0.2 mm clearance (both for the rack and the shaft) as well and also the crank with a 0.2 mm clearance around the square socket. Update 06/2025: As it was mentioned in the comments, the rack used to be wrong in that the teeth were copied from the pinion and turned into a rack (according to the tutorial linked above) and thus had curved faces. However, the teeth of a rack are supposed to have straight surfaces (and this bugged me for quite some time). But as it was brought up now, I corrected this issue and uploaded a new model of the rack in two versions: one with 0.1 mm clearance between the teeth of the pinion and the rack and one with 0.2 mm clearance, in case the other one is too tight. If you are interested, how to model a rack with straight surfaces, I found this tutorial on YouTube.
💬Baskı İncelemeleri & Yorumlar(0)
★4.9 / 5.0· Başarılı Baskı