


Download, slice and print this model in the MakerSpell app — available on Android and Windows. Get the app
Model Overview & Print Notes
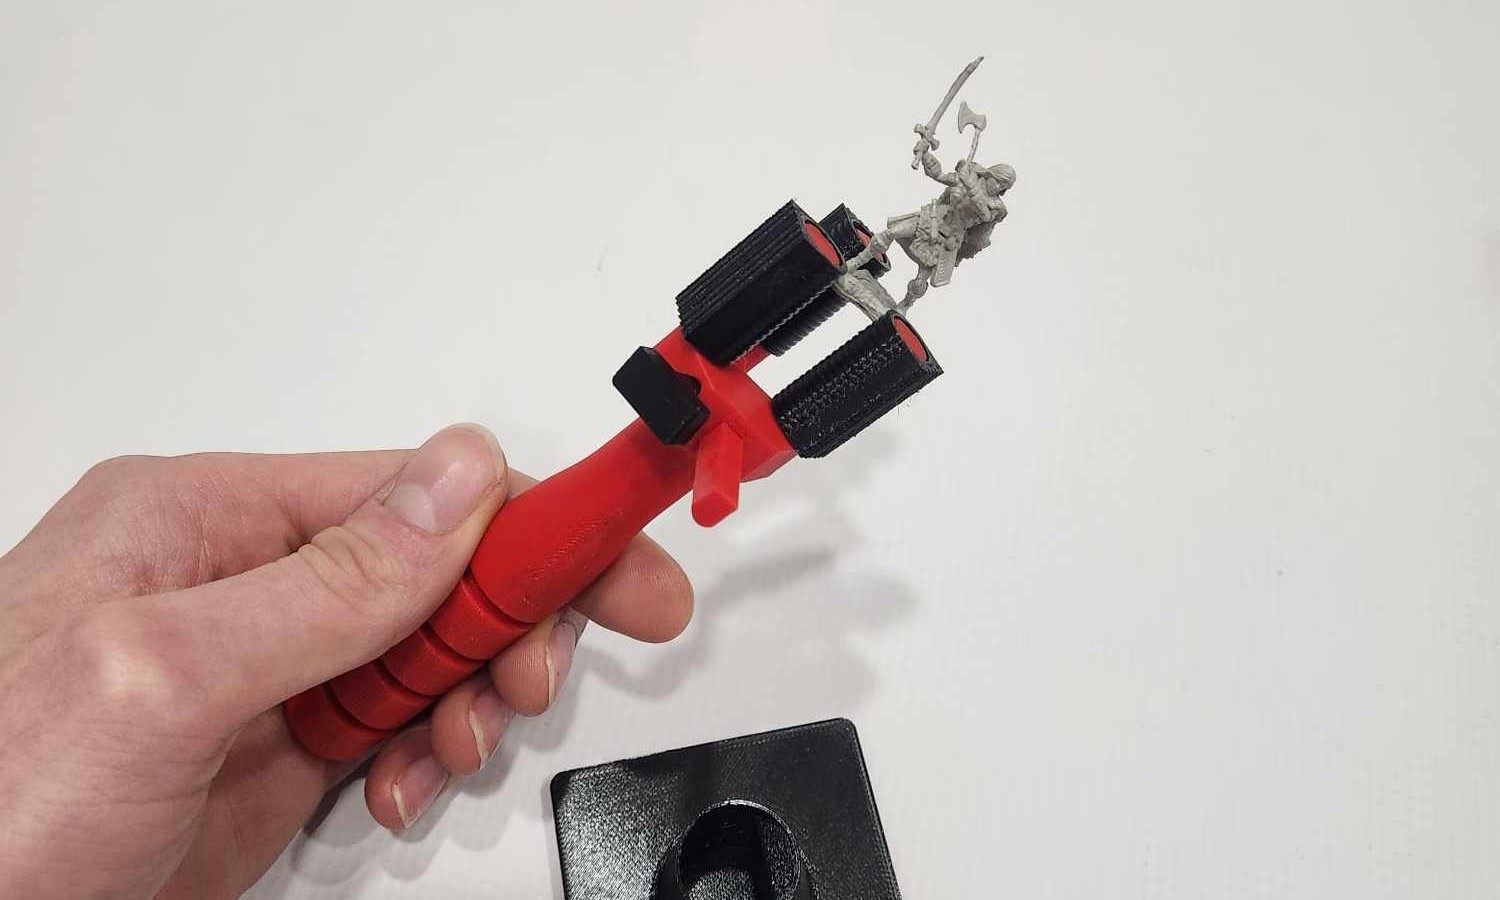
Intro I couldn't find a suitable hand vise/clamp for painting D&D/DnD miniatures and other resin prints so I designed this one from scratch. It works very well, especially for terrain and odd-sized prints, plus it's a great PCB clamp for arduino/raspberry pi projects. Printing The parts for this project are quite small, should all be in 0.15mm or smaller size except for the base which can be 0.2mm. None of the parts should need supports except for the “Handle” which should have organic supports generated to support the threads, may not be needed for all machines but better waste a little on supports than having to reprint the entire handle. You'll need one of each part except for the grips, print three of those; Handle x1 - Recommended to print with organic support for threads Arm x1 (Long or Short arm) Thread x1 (or substitute for 0.25" ¼-20 UNC bolt with tapered end) Base x1 (optional but nice if your piece is larger than the hand vise) Grip x3 Assembly Once all the parts are printed, I usually hit them with a heat gun to remove the little hairs that can form from the retraction of the nozzle. The “GRIP” parts that you printed three of have a notch that should be near the bottom on the inside of the cylinder, these slide over the pegs on the handle and arm and should snap into place, and allow the part to rotate without sliding off, if they are not rotating try flipping the part over and see if the notch was on the other end. These grip parts can be replaced/removed just by pulling them directly up, the notch is rounded on each end to make it a breeze. You can also use a 0.25inch bolt with ¼-20 UNC threading instead of printing the “Thread” file provided, but would need to taper the bottom a bit with a grinder since I didn't want the thread extending too far into the arm. Slide the arm into the handle, it can go either way, so final assembly depends on your preferences. Squeeze the arm into the handle when clamping a piece, then turn the thread on the screw while keeping pressure, until you're no longer able to tighten the screw by hand . Do not use tools to tighten the screw , else the threading/screw may snap. If you're not getting enough clamp, try tightening and loosening the screw a couple times without the arm in place to break in the threads. When working on the straight edge objects like PCBs use the flat sides of the grips to keep the part locked in place, since rounded edges don't present as much grip compared to square edges when dealing with flat objects. Credits Designed in Autodesk Fusion 360 CAD software with the free hobbyist license (2023 Oct Build) Sliced in PrusaSlicer 2.6.1 Printed in Red/Black OVERTURE PETG 1.75mm filament on my Prusa i3 mk3 To my four cats, thank you for supurrvising while I worked