
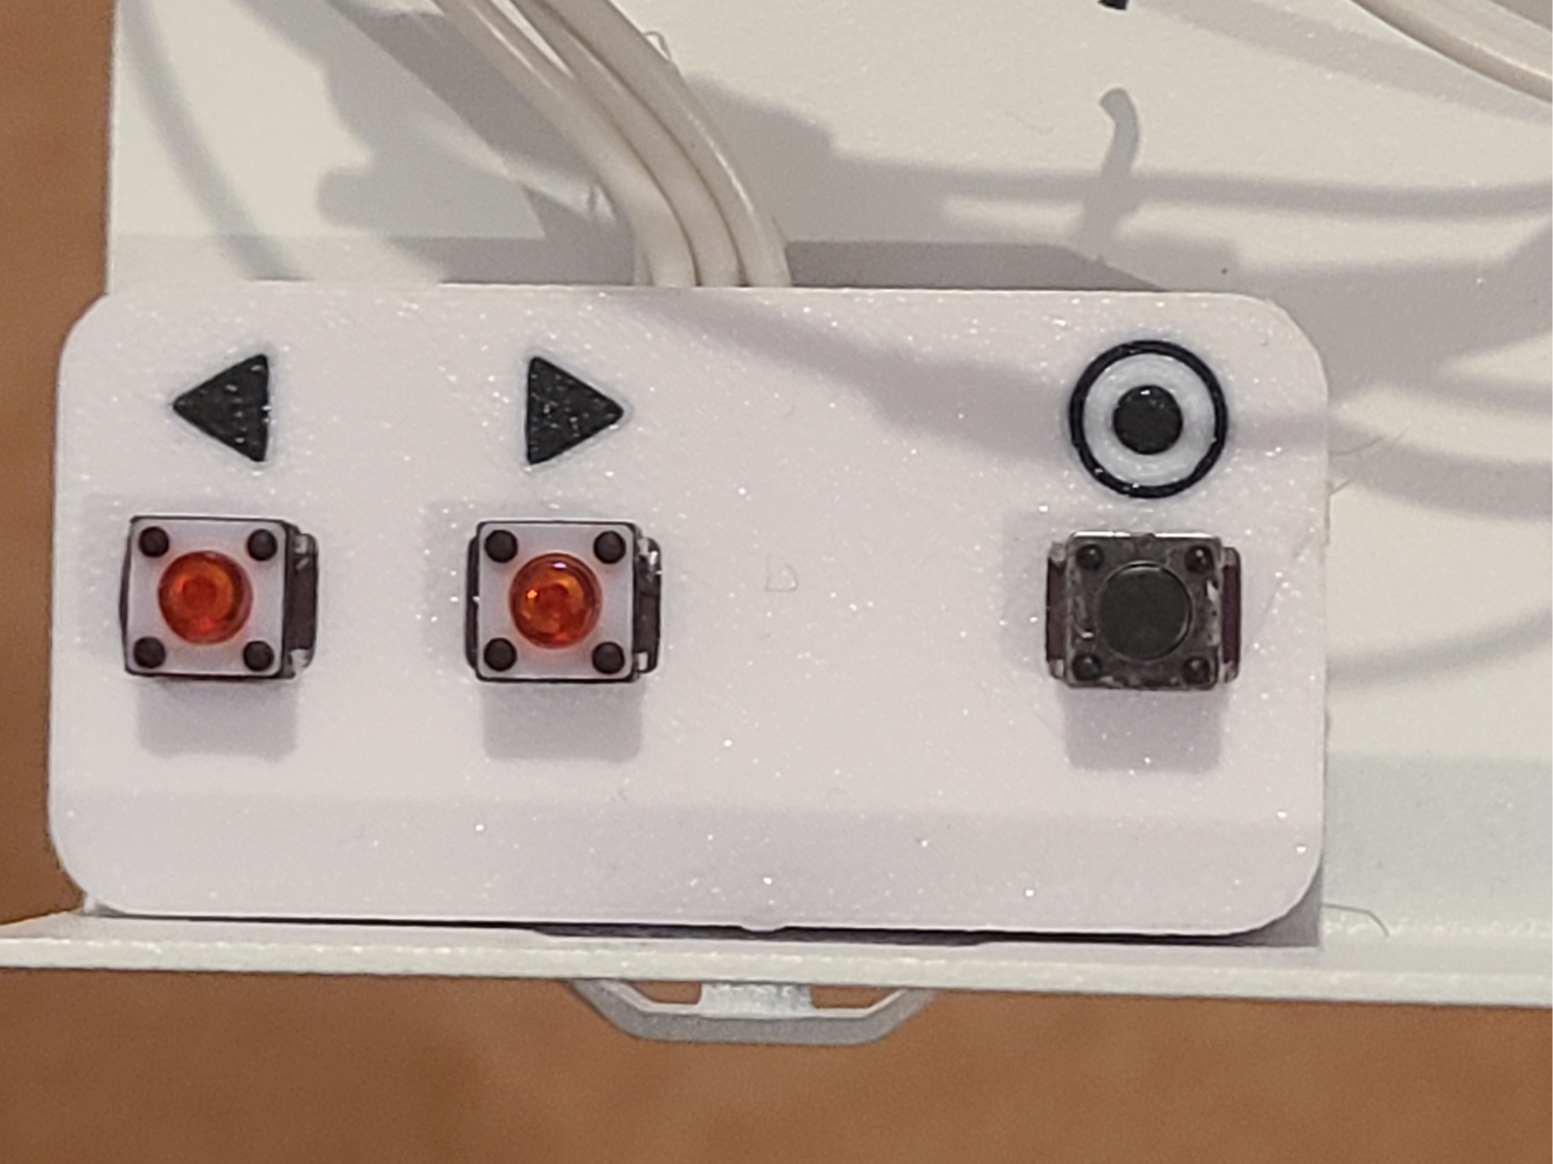

Simple Control Pad for DIY Projects

Download, slice and print this model in the MakerSpell app — available on Android and Windows. Get the app
Model Overview & Print Notes
A simple control pad to be used in diy projects for programmers like arduino, raspberry pi pico etc. This model utilizes 6x6mm tactile switches. ****Printing Instructions**** For black arrows/select key: Before you send the print job, make sure multicolour with external spool option is selected as shown in the documentation. If this option is not there, the printer may not be on the latest firmware update or bambu studio may be outdated. If you use the raw STL file, use the colour painting option in bambu studio, select/create a secondary filament for the select and left/right arrows, click fill and then edge detection, and click where the arrows and select button highlights. If you don't care about arrows and select indicators, then you can just print the file as is without enabling multi colour printing. ****Assembly Instruction**** Put a very small blob of super glue on the underneath of each switch, and insert the switches in each slot. Solder one wire in parallel to either A or B to all the switches as shown in the diagram, then solder one main ground wire to any of the A and B joints. Solder one wire on each switch to either C or D which will be the signal wire for the individual switches. Test the Keypad before gluing the back cover onto the main shell.
💬Baskı İncelemeleri & Yorumlar(0)
★4.9 / 5.0· Başarılı Baskı