

Download, slice and print this model in the MakerSpell app — available on Android and Windows. Get the app
Model Overview & Print Notes
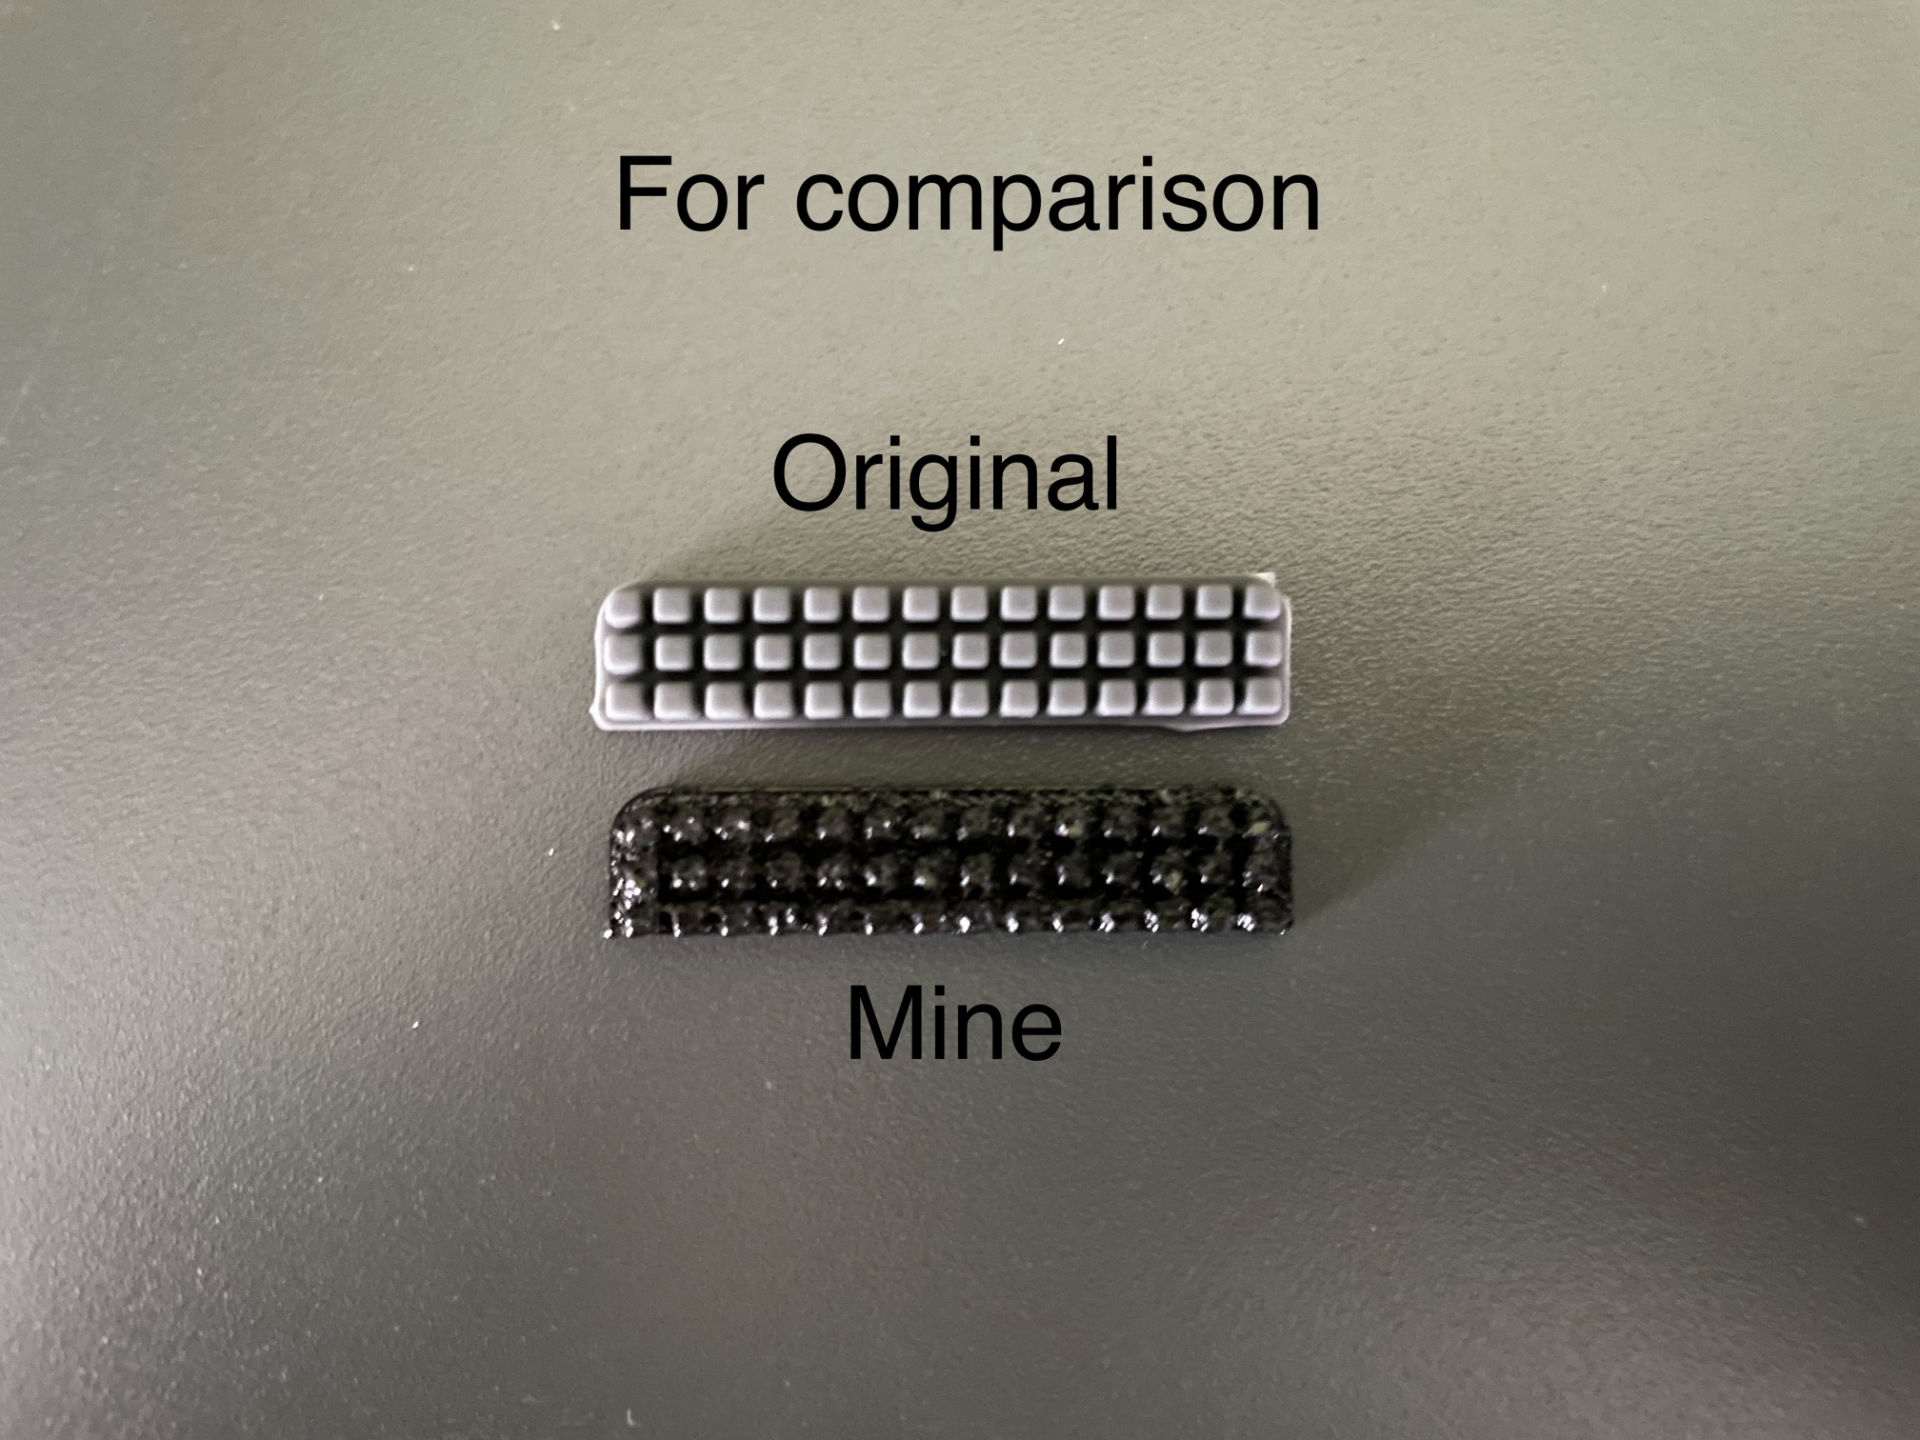
This 3D-printed TPU rubber nozzle brush for the Bambu Lab A1 offers the following advantages and features: Constructed from TPU, it ensures gentle yet effective nozzle cleaning. Designed to remove material residue and build-up from the nozzle, particularly beneficial for maintaining your Bambu Lab A1. - Advantages: Improves print quality by preventing blobs and other issues. - Production: Easily produced on any 3D printer capable of printing TPU. Instructions: Materials: - 3D-printed TPU rubber nozzle brush for the Bambu Lab A1 - Residue-free double-sided adhesive - Disinfectant and a clean cloth (optional for cleaning) Steps to attach the brush 1. Brush Preparation: - Ensure the underside of the printed TPU rubber brush is clean and free from dust or grease. If necessary, wipe the surface with a disinfectant-soaked cloth and allow it to dry completely. 2. Applying the Adhesive: - Cut a piece of double-sided adhesive to match the size of the brush underside. - Carefully apply the adhesive to the underside of the brush, ensuring no air bubbles are trapped. 3. Slot Preparation: - Locate the designated slot on your printer. This slot is specifically designed for brush attachment and is situated at the rear of the print bed. - Clean the slot to ensure optimal adhesive adhesion. Use residue-free disinfectant and a clean cloth if needed. 4. Attaching the Brush: - Remove the protective film from the double-sided adhesive now affixed to the brush underside. - Carefully position the brush in the designated slot, ensuring correct alignment. - Gently press the brush downwards to secure a strong adhesive bond between the brush and the printer. Press firmly for several seconds to ensure good adhesion. 5. Verification: - Check if the brush is firmly seated and doesn't wobble or loosen easily. If the brush is not firmly attached, repeat the process with a new piece of adhesive. 6. Completion: - Once the brush is successfully attached, your printer is ready for subsequent prints. The brush helps keep the nozzle clean and contributes to maintaining high print quality. Notes: It is recommended to follow all instructions carefully and attach the brush gently to minimize the risk of damage. Ensure correct application and that the double-sided adhesive leaves no residue that could interfere with printer functionality. Boost Me Please note that the use of the printed TPU rubber brush and the application of the double-sided adhesive are at your own risk. There is currently no long-term experience available. I am a private user and am simply providing my self-created file free of charge. I assume no liability or warranty for damages or problems of any kind.
💬Baskı İncelemeleri & Yorumlar(0)
★4.9 / 5.0· Başarılı Baskı