


Download, slice and print this model in the MakerSpell app — available on Android and Windows. Get the app
Model Overview & Print Notes
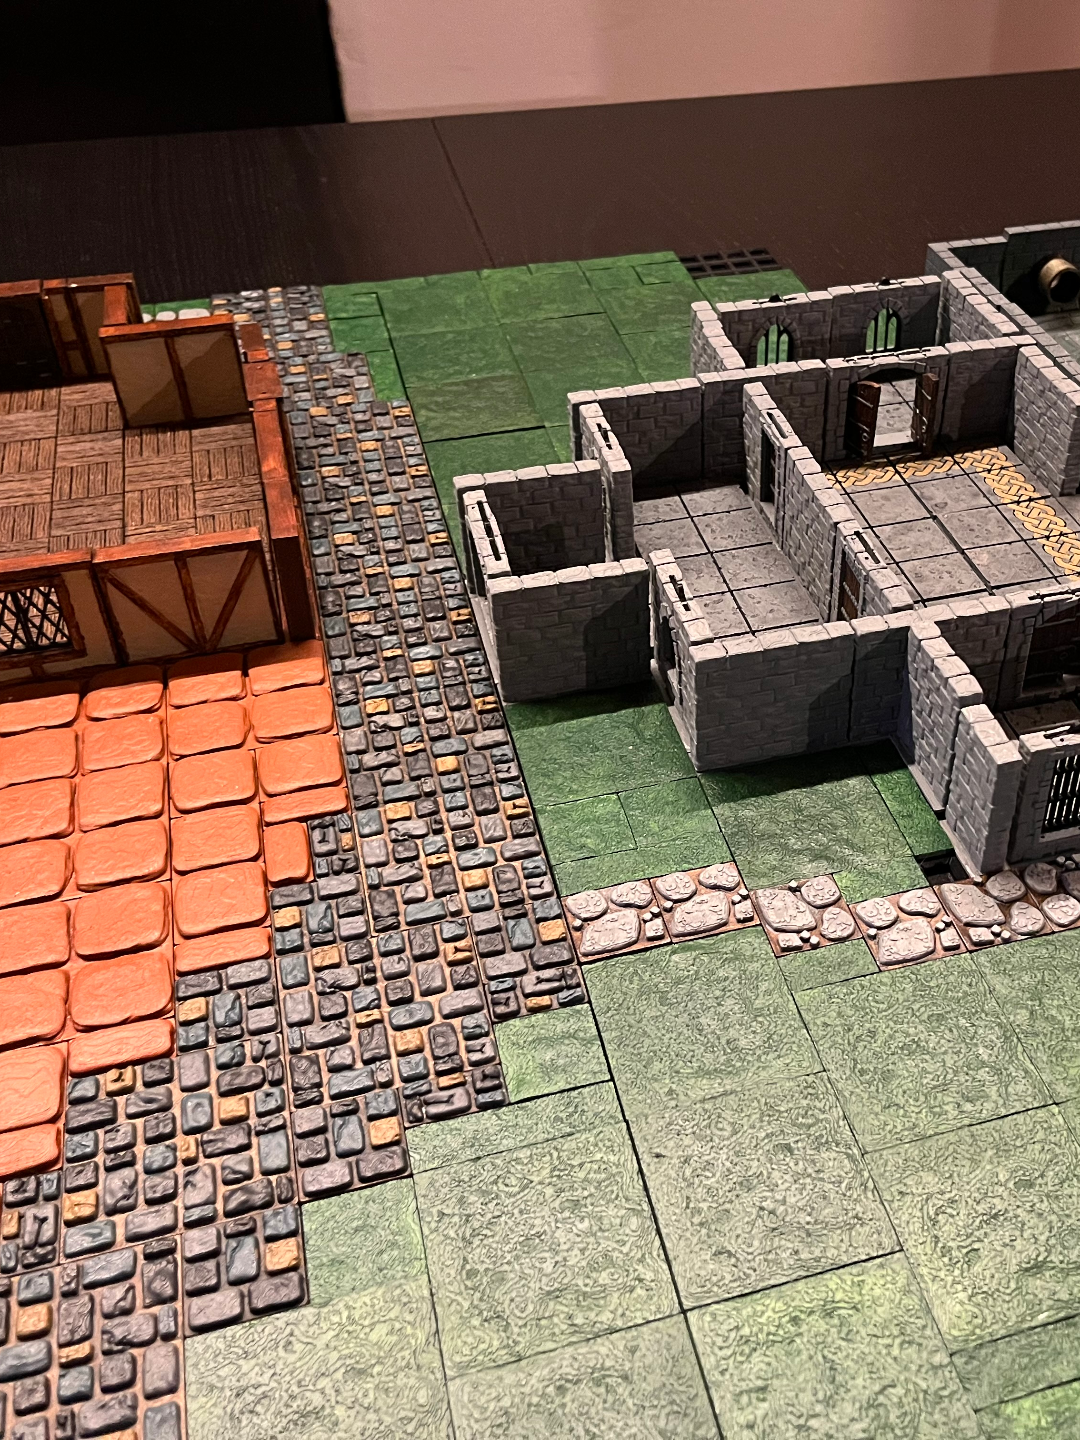
GridFantasy is the solution to my dissatisfaction with several other modular dungeon tile systems. I had built a small collection of OpenForge dungeons, but setting up and tearing down the dungeons always took very long with the tiny clips you had to put in and take out of every piece. GridFantasy is as easy to set up as placing the tile on the grid, where it won't move from side to side (unless you have some very rowdy players) and at the same time it's super easy to tear down. While personally I have built a board with the grid glued to it, you can also just hold the grid together by placing at least a 2x2 tile across the neighboring grids. This set includes the base tiles and can be modified with any terrain on top. This can be done directly in the slicer via the unite feature! If enough people are interested I might add a guide to this upload down the line. Included are: 16x16 Base Grid 12x12 Base Grid 4x4 Floor Panel 4x1 Floor Panel 2x2 Floor Panel 2x1 Floor Panel 4x1 Wall Panel (Tighter tolerances than floors) 3x1 Wall Panel 2x1 Wall Panel 1x1 Wall Panel This is meant to be an open project where anyone can add to the system with new terrain and tiles. Feel free to create your perfect terrain :) In case someone is wondering: The lights seen in the scene are from “Light my bricks”. They are a tad expensive but very handy. Instructions for adapting existing terrain to the System in the slicer I've mostly adapted existing terrain to work with this system and done so directly in the slicer with these simple steps outlined below: 1. Download the .3mf file and use the bottom left plate for floor tiles, or the bottom right tiles for wall tiles (they have some tighter tolerances and prevent the walls from tipping too easily). 2. Select the panel you would like to create, go to scale and note down how large the tile is. You will want to scale your imported terrain to this dimension. 3. Import the terrain file you'd like to adapt and cut away any excess geometry you don't need. (In this example locking geometry from open lock) 4. Select scale, deselect unified scaling and then enter the X and Y values you noted down before. If you want to keep the tiles consistent also enter the Z height of 4mm for floor tiles and 43mm for walls. 5. Position your base tile at easy to remember X and Y coordinates and then enter a large negative value for Z. This will position the tile just under the printbed. 6. Now go to your terrain tile and move it to the same X and Y coordinates. Leave the Z coordinate as it is. 7. Lastly select both objects, right click and select “unify” (My slicer is set to German, I am not sure what this is in other languages). That's it, you are done! Feel free to upload your terrain modifications using the GridFantasy tag. Remember: If the terrain is not your own creation link to the original creator as I did with my uploads. Happy Printing!
💬Baskı İncelemeleri & Yorumlar(0)
★4.9 / 5.0· Başarılı Baskı