
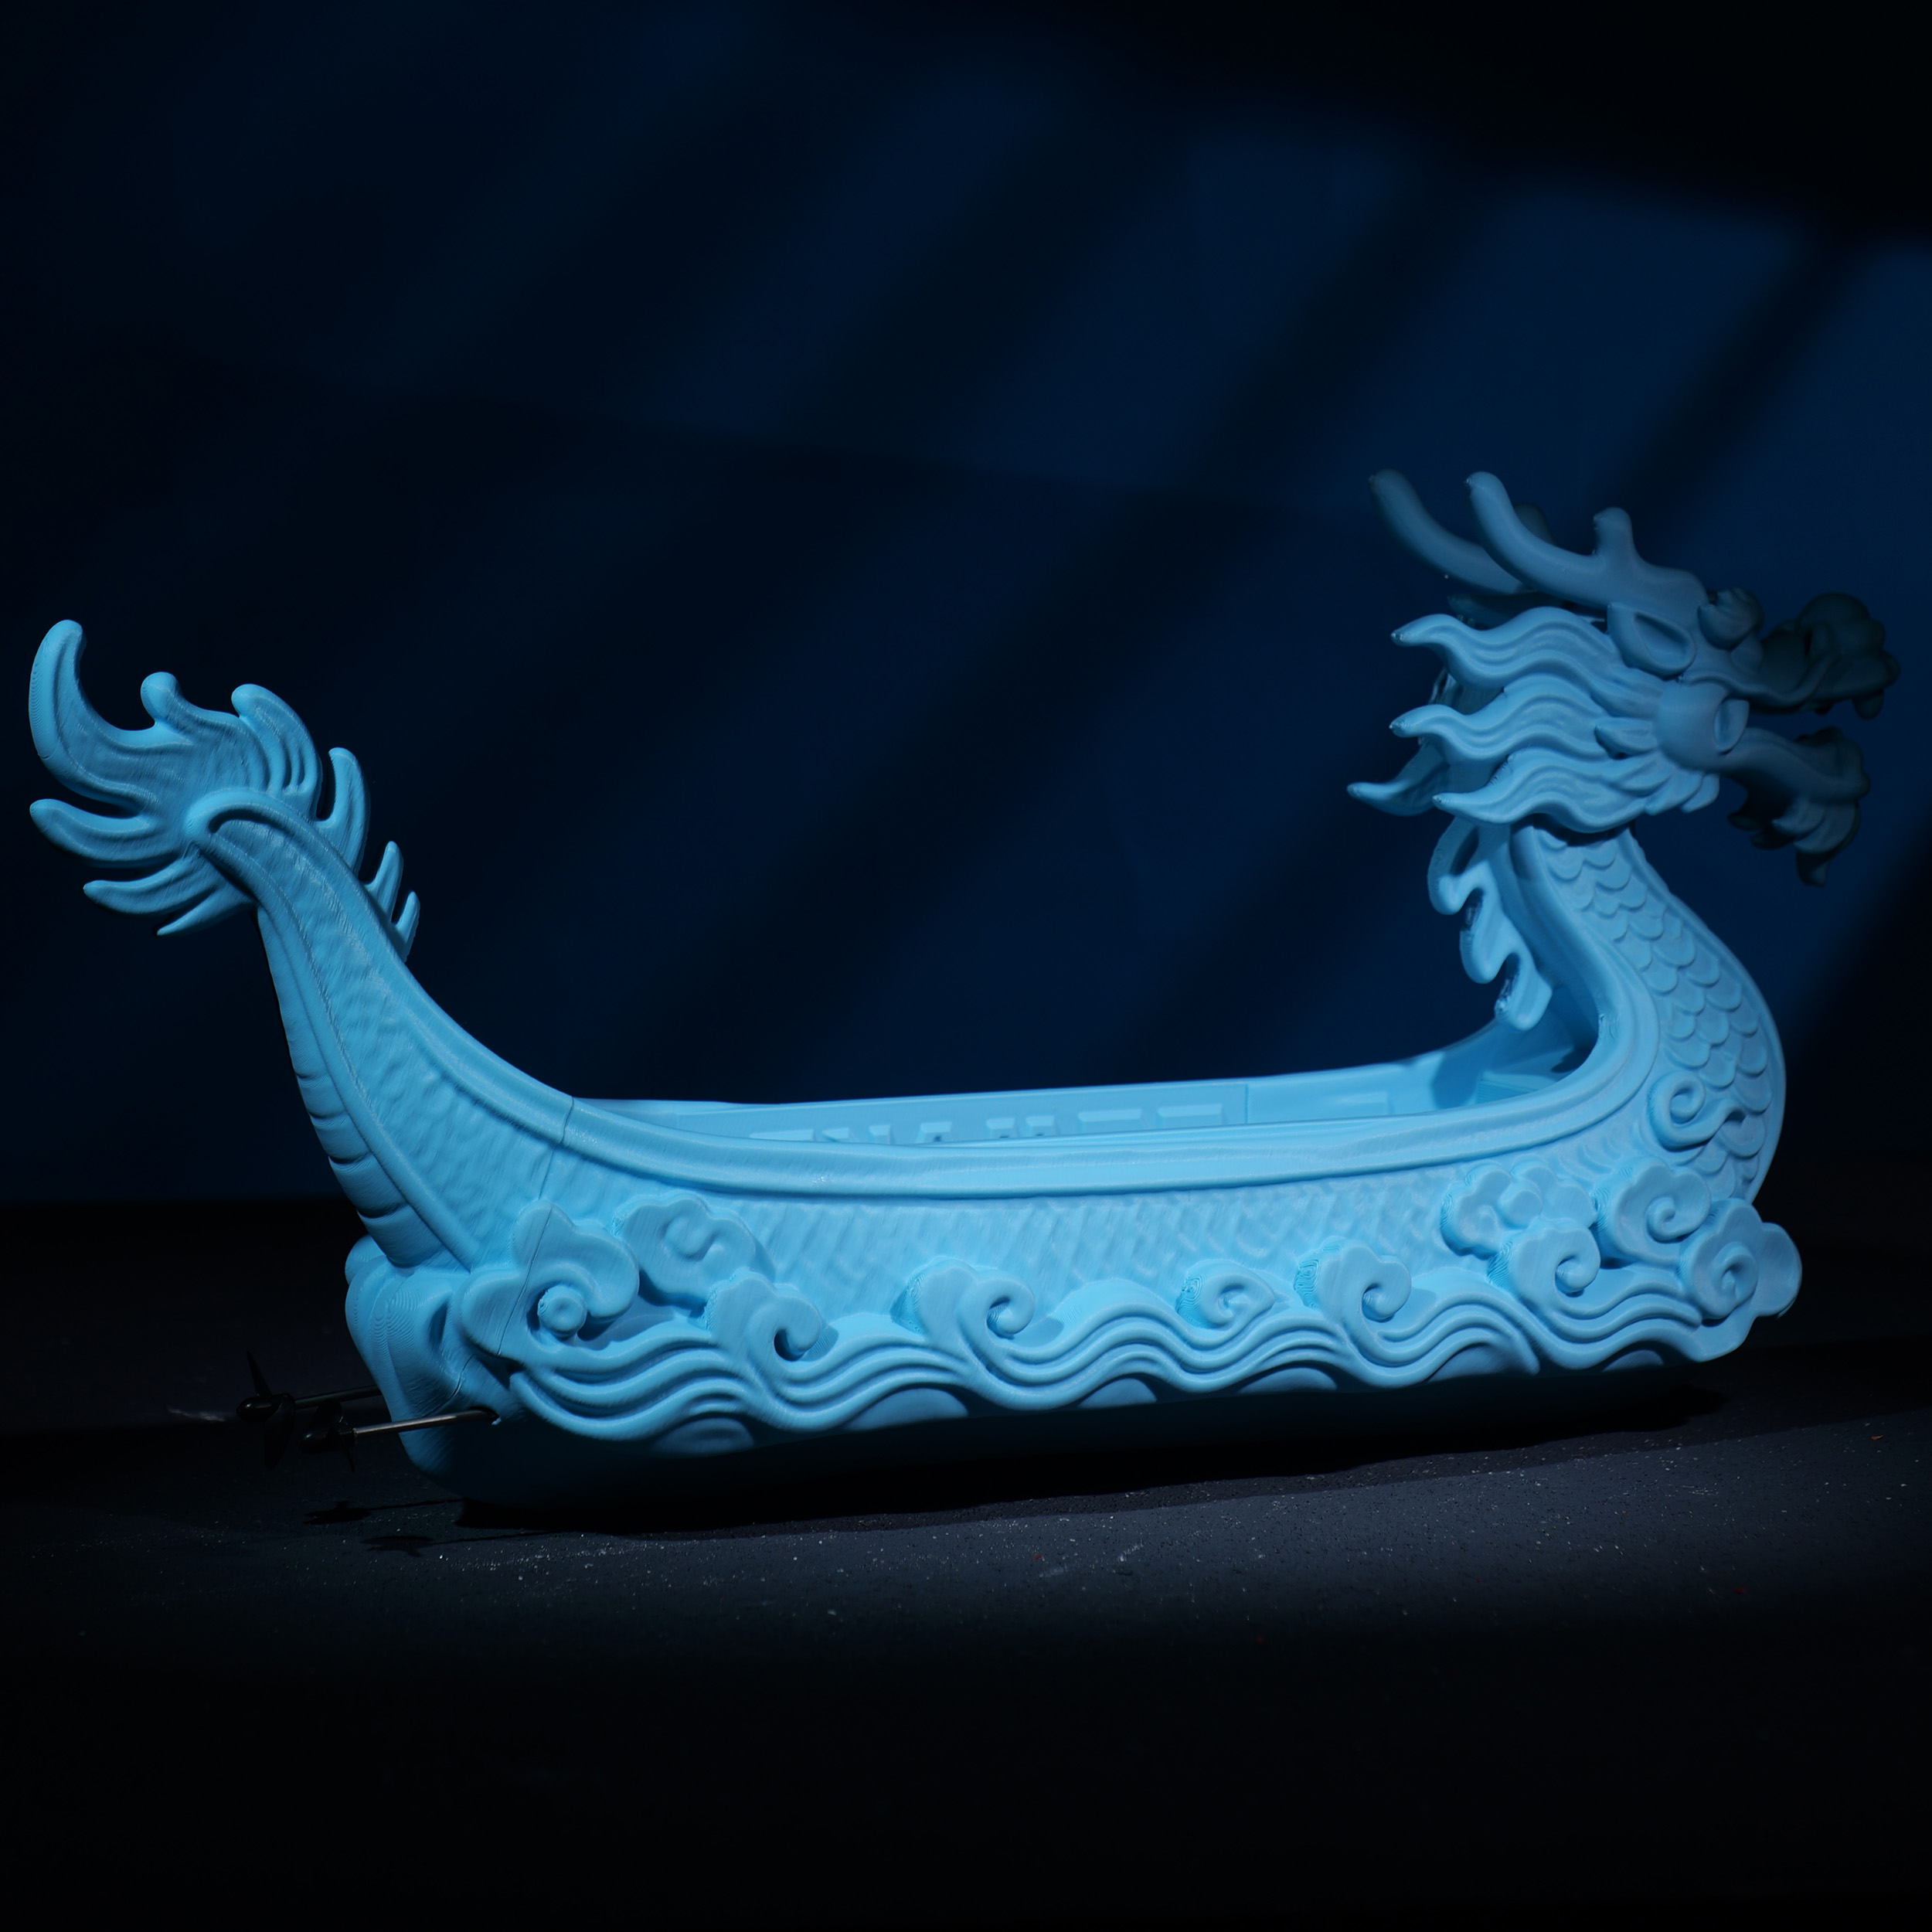


Download, slice and print this model in the MakerSpell app — available on Android and Windows. Get the app
Model Overview & Print Notes
Installation Guide: Step 1: Insert the sleeve into the hole at the stern of the hull to enlarge the hole, facilitating the assembly of subsequent components. Then, use glue to attach the dragon tail along the cut surface; 502 glue is sufficient for this. Step 2: Insert the cylindrical tube into the sleeve (note that the cylindrical tubes come in two sizes). Step 3: Insert the paddle shaft. Step 4: Connect the silicone tube to the assembled paddle shaft (insert it at least 7 mm). Step 5: Connect the assembled propeller shaft to the motor. Step 6: Cut the included EVA spacer (with 3M adhesive) into a similar shape. Step 7: Place one EVA spacer (with 3M adhesive) on each side of the hull, at the motor locations. Step 8: Place the assembled propeller shaft and motor inside the hull and insert them into the round hole at the bottom until they are positioned as shown in the diagram below. Use glue or hot glue to secure the cylindrical tube here. Step 9: Install the blades. Step 10: Note that propeller blades are classified as forward-spinning and reverse-spinning, and their rotation directions differ. Please install them according to the diagram. Step 11: The oar shafts should be aligned left and right. Step 12: Place one EVA sticker (with 3M adhesive) on the top of each motor. Step 13: Install the motor cover and tighten the two M2×8 screws. (Refer to the general tutorial on ship compartment structures; you can ignore the hull.) Step 14: Connect the motor wires to the receiver—connect the left motor wire to the left port and the right motor wire to the right port. Step 15: Connect the battery wires to the receiver. Step 16: Place an EVA spacer (with 3M adhesive) at the location indicated by the yellow arrow, and insert the battery and receiver into the hull. Step 17: Install the battery cover. Step 18: At this point, the installation of the components is complete. Please turn on the remote control to pair it with the receiver. The remote control and receiver are pre-paired at the factory. After connecting the receiver to a power source, turn on the remote control to initiate automatic pairing. Once pairing is successful, the red light on the receiver will remain steadily lit. Remote Control Initialization Procedure: To prevent accidental misoperation, this model is equipped with a system initialization procedure. If initialization is not performed before operating the model, it will not accept any other control commands. The initialization procedure is as follows: 1. Press the power switch on the remote control to turn it on (the remote control indicator light will illuminate). 2. Insert the batteries into the receiver and turn on the power switch (the receiver indicator light will remain lit, indicating successful pairing). 3. Push the throttle stick on the left side of the remote control all the way up, then pull it all the way down, and finally return it to the center position. The initialization process is now complete. Re-pairing the Remote Control: If pairing is unsuccessful for an extended period (the receiver’s indicator light is flashing slowly), you will need to re-pair the devices: 1. Turn off the remote control. 2. Remove and reinsert the receiver’s battery until the receiver board enters a fast-flashing state (it will automatically enter this state after power is restored and will continue for about ten seconds). 3. At this point, hold down the reset button on the remote control and turn it on to re-pair. Remote Control Pairing Errors and How to Resolve Them: If multiple remote controls are connected to the same device at the same time, turn off the power to both the boat and the remote control. Take the boat and remote control you wish to pair and move them out of range of other boats’ signals, then re-pair them. Step 19: Close the boat cover and insert the tail end downward into the retaining plate (below the logo). Align the front mortise and tenon joints and press down. To remove it, pull on the oar hook (oars are optional). Note that the boat cover should feel slightly tight when closed; if it is too loose, water may leak in. Tips:If the installation tolerance is too large, you can adjust the x-y outer contour compensation in the slicing software based on the actual situation.
💬Baskı İncelemeleri & Yorumlar(0)
★4.9 / 5.0· Başarılı Baskı