
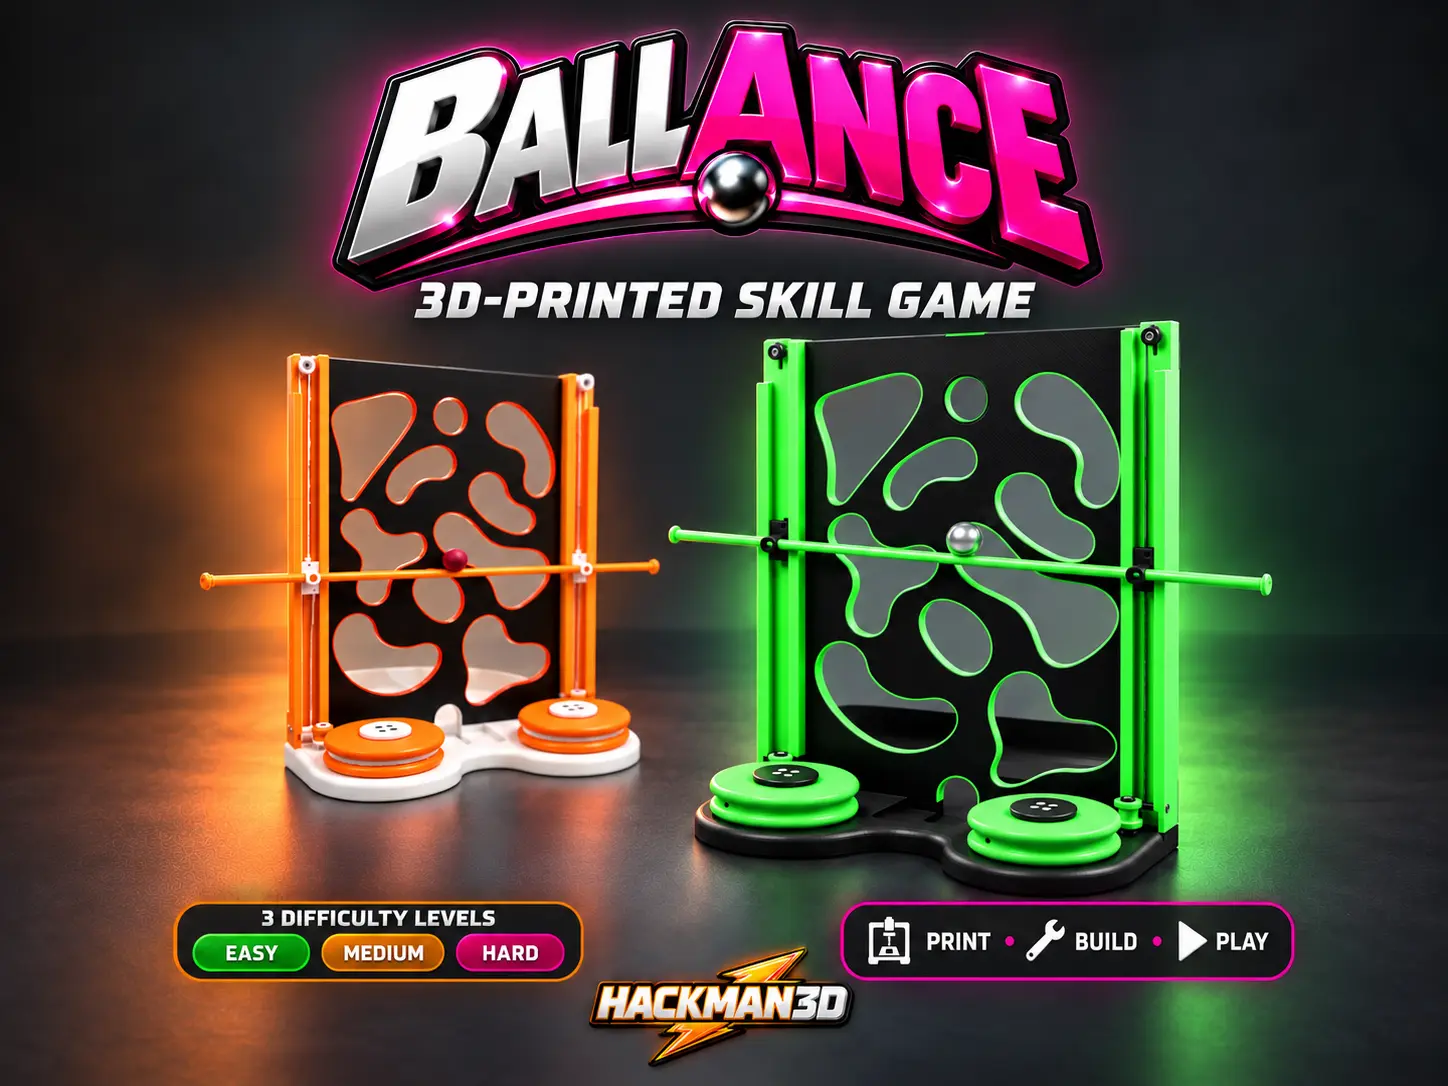

BALLance - 3D-Printed Ball Balance Game

Download, slice and print this model in the MakerSpell app — available on Android and Windows. Get the app
Model Overview & Print Notes
Follow me on TikTok, YouTube and Instagram for an early look at my new creations, deals and things I’m testing. It’s free and helps me out. Thanks for the support! TikTok : https://www.tiktok.com/@hackman3d Instagram: https://www.instagram.com/hackman_3dprint/ YouTube: https://www.youtube.com/@hackman3D/shorts Two control wheels, one ball, and a steady pair of hands! Turn the wheels to raise, lower, and tilt the support rod. Guide the ball around the obstacles and reach the target at the top without dropping it. Three interchangeable boards are included: Easy, Intermediate, and Hard. The rear tray catches the ball when it falls. No motors, batteries, or electronics required. HARDWARE REQUIRED All M2 screws have countersunk heads. M3 screws have cylindrical hex-socket heads. • 13 × M2×4 mm screws • 2 × M2×6 mm screws • 2 × M2×16 mm screws • 8 × M3×4 mm screws • 4 × M3×16 mm screws • 2 × M2 nuts • 2 × M2 washers — optional • 2 × 125 cm lengths of flexible, low-stretch cord (1mm) • 1 × Ø17 mm ball Total: 29 screws. The M2×4 screw for the rod retaining bracket may need to be slightly longer. HARDWARE LINKS These are affiliate links. I may earn a commission at no extra cost to you. M2 countersunk screw kit: Amazon: https://link.amazon/B07YQQ49A AliExpress: https://s.click.aliexpress.com/e/_c40wbiGN M3 hex-socket screw kit: Amazon: https://link.amazon/B07ZsfSRQ AliExpress: https://s.click.aliexpress.com/e/_c4bMIfU1 Cord: Amazon: https://link.amazon/B07cfnqFz AliExpress: https://s.click.aliexpress.com/e/_c4DoGANB ASSEMBLY Fit the control wheels and their retaining brackets: 8 × M2×4, four per wheel. Fit the lower pulleys and their brackets: 2 × M2×4. Insert each slider into its matching guide rail. Attach the banjos: 2 × M2×6. Attach the guide rails to the base: 4 × M3×16. Install the lower guide pins: 2 × M2×4, with optional washers. Attach the upper frame bracket: 4 × M3×4. Install the upper pulleys: 2 × M2×16 and 2 × M2 nuts. Pass the support rod through both banjos and fit its retaining bracket: 1 × M2×4. Attach the rear collection tray: 4 × M3×4. Check that the sliders move freely and all wheels and pulleys rotate without binding. CORD ROUTING Use one continuous 125 cm cord per side. Both ends are tied to the same slider. Follow the routing diagram and repeat the arrangement in mirror on the opposite side. • Pass the cord through the control wheel’s off-centre through-hole. • At EACH exit, wrap the strand ONCE around the wheel’s groove. The two strands wrap in OPPOSITE directions. • Outer strand: pass behind the lower guide pin, through the slider’s free passage, around the upper pulley, then down to the upper knot on the slider. • Other strand: unwind from the right side of the wheel, pass under the lower pulley and up its left side, then behind the guide pin to the lower knot on the slider. Both strands pass behind the lower guide pin. The cord stays in one piece between the two knots. Remove excess slack without overtightening. Test each wheel in both directions before securing the final knots. HOW TO PLAY Place the ball on the lowered rod. Turn the wheels to lift and tilt it, guiding the ball around the openings towards the top target. Start with Easy, then challenge yourself with Intermediate and Hard! Share your build and your favourite colour combination. 🏆 Take the BALLANCE speed challenge! Film yourself playing with a visible stopwatch, post your video on TikTok, Instagram, or YouTube, and tag @hackman3D. Show which difficulty you’re playing, let’s see who can reach the top fastest! #BALLANCE #3DPrinting #CrealityCloud #DIYGame #SkillGame #MechanicalToy #PrintAndPlay
💬Baskı İncelemeleri & Yorumlar(0)
★4.9 / 5.0· Başarılı Baskı